Summer Nail Polish Picks For All Skin Tones!!!

Thursday, July 11, 2013

Hey Everyone!

The middle of July is here and it's time for some re-ups on summer polish colors!! Here are some of my favorites so far and some "shop my stash" colors I'll be wearing again in the next couple of weeks.

I believe that these colors would look great on a variety of skin tones, whether you wear them on your toes or on your hands. Check them out!

 Wet N' Wild Megalast in I Red A Good Book and Wet N' Wild Megalast in On A Trip
Wet N' Wild Megalast in I Red A Good Book


Revlon Brilliant Strength in Intrigue and Entice


 Revlon Brilliant Strength in Entice
Revlon Brilliant Strength in Intrigue
 Sally Hansen Complete Salon Manicure in Choco-Latte and Honey Whip
 Priti N.Y.C. City Girl Rose and Baby Blue Eyes
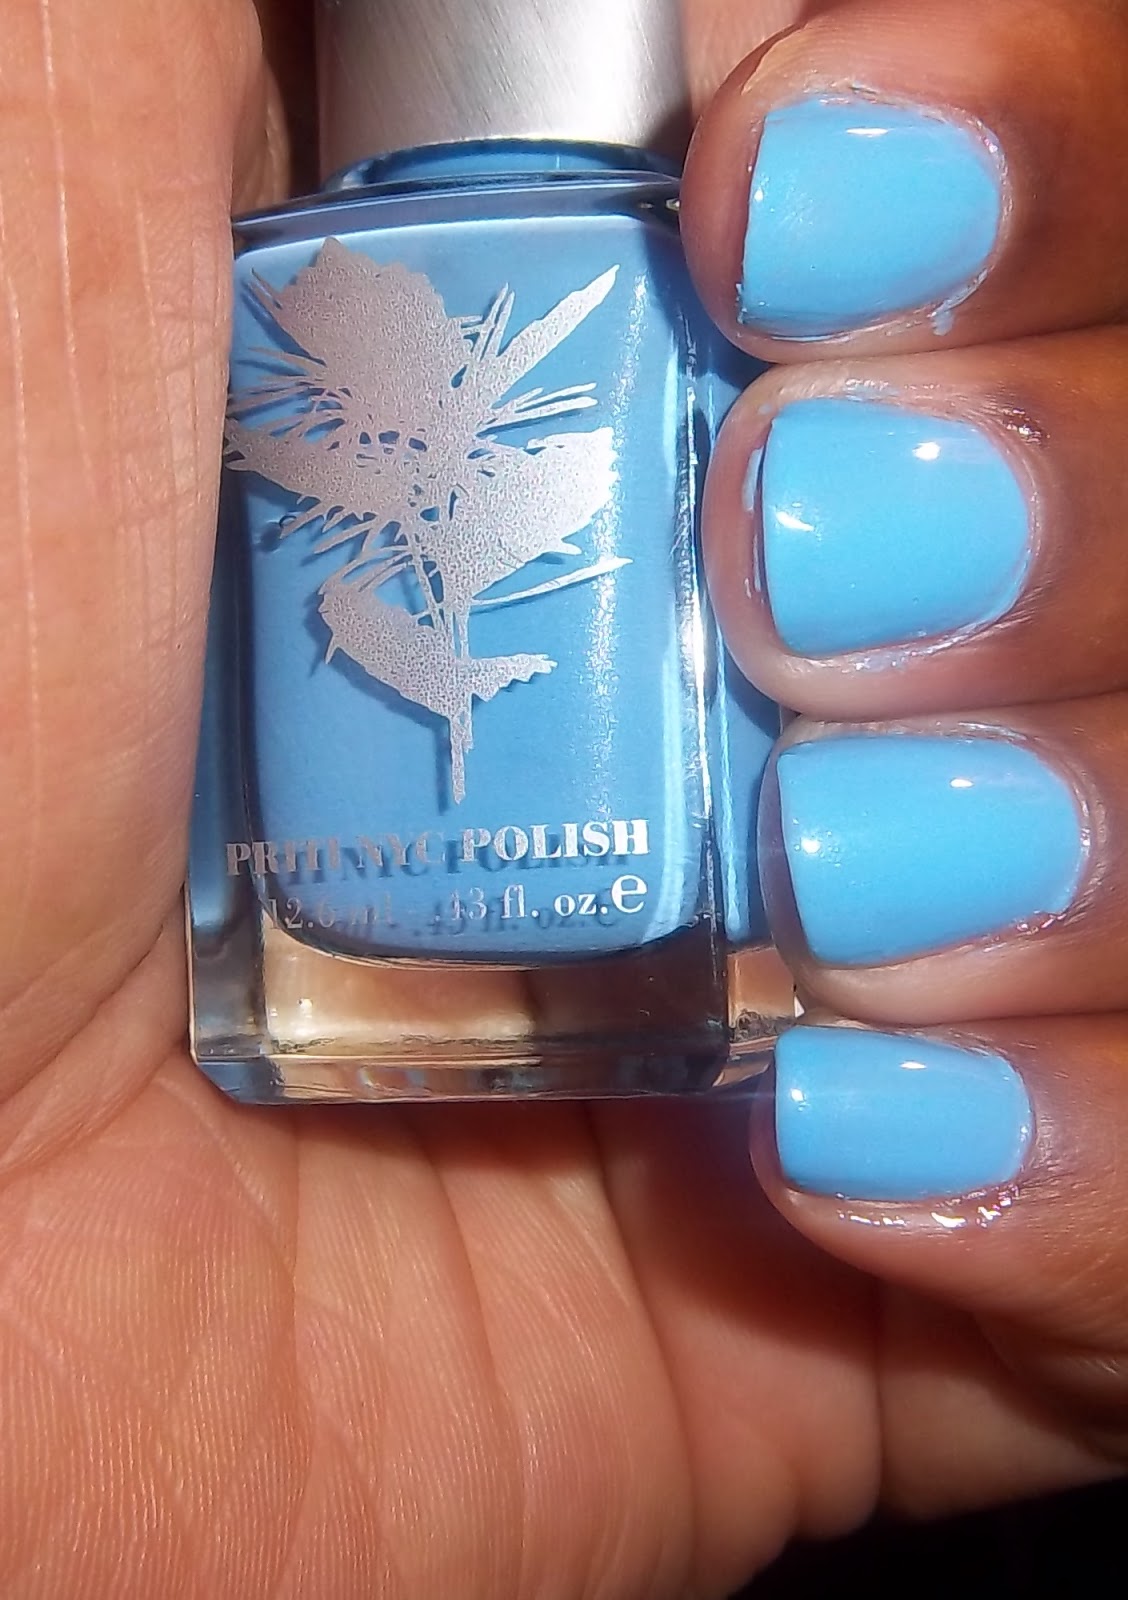

N.Y.C. Long Wearing Nail Enamel in Preppy Pink and Sally Hansen Complete Salon Manicure in Butterscotch


Let me know if you plan on trying any of these colors in the comments!!

Disclosure: Product(s) were sent to me for consideration for review. I was not paid for this post, it is not sponsored and all opinion are honest.

3 Primers + 1 Hot Summer!! Primer Series For Oily Skin Part 2.......

Wednesday, July 10, 2013


Hey Everyone:)

I have Part 2 of my 3 Primers + 1 Hot Summer for you today! In this series, I have two very interesting products that are medicinal products claimed to combat oil. Plus, I have a high end Asian product that promises the same results as the other two. If you have checked out Part 1, here's the LINK. Let's get started.....


 For the last month, I test Rice Force UV Protect Milk SPF 25, Monistat Chafing Gel and Milk Of Magnesia.
 Swatches of ( left to right) Milk of Magnesia, Monistat Chafing Gel and Rice Force UV Protect Milk
 Milk of Magnesia- Does it work?
YES! It works! I was shine free under BB Creams and Foundations with the MoM. I have a REALLY big bottle because Walmart was sold out of the little bottles.O_O. This product is under $2. I applied the MoM to clean skin with my E.L.F. Flat Powder Brush evenly all of over. It left a bit of a white cast but that was gone after I applied foundation or BB Cream over it. You only need a 1/2 teaspoon at the most for the coverage. I poured the MoM its cap to use it but I'm currently looking for a pump or a small bottle to store it in. I'll keep you updated!!
 Monistat Chafing Gel- Does it work?
YES! Its works great under my BB Cream and Foundation. I like this gel a lot. It works just like a silicone based primer like the Smashbox primer its notoriously compared to on Pinterest. Plus, you can just squeeze it out, just a dab to cover the whole face. This gel ran $8 at CVS which was pricey for a" primer" at the drugstore. The problem I had with this product is that it was very hard to find. I scored Walmart and two CVS' before I found it. In CVS, its in the area where the feminine hygiene products are.:)
YES! It works under all of my foundations and BB Creams. Plus it has a bit of moisturizing effect on my skin.  I honestly thought that Japanese skincare catered only to Asian skin, which tends to be more normal to dry but the UV Protect Milk kept the oilies at bay while providing some excellent skin care qualities. Down side might be the price point at $40. But remember the tarte primer I tried in Part 1 that was $30? Yeah.   It's hard being an all around beauty addict, high end or low end, you still want it in your grasp!!


Disclosure: Some products were sent for consideration for review. I was not paid or sponsored for this post and all opinions are honest and my own


~Review~ Maybelline FIT Me Shine Free Foundation Stick in 340

Tuesday, July 09, 2013

Hey Everyone!

I didn't even know Maybelline FIT Me Shine Free Foundation Stick even existed until I walked into CVS and saw the display. How did I miss this new product launch? lol!

I picked up the color 340 because I have had FIT Me Foundation in the past in 355 and 355 is too dark.

I did a review on the FIT Me pressed powder and liquid foundation in 2011. Here is the LINK to check it out.


 FIT Me Foundation Stick is a foundation stick with a core that suppose help with shine and oil.
 When swatched and rubbed in, it feels powdery and smooth......
 Bare face with a primer and eye brows done...I'll explain the primer in a moment....:)
 With the FIT Me Foundation Stick applied all over. I swatched the stick all over then buffed it in with a flat top brush.

Face all done!

~Overall~

-I have had the stick for over two weeks and I wore it a variety of ways: with primer, without primer, just applied in certain places, and applied all over....

-Unfortunately, I can't wear it without a primer because the shine free core isn't enough to keep the oilies at bay. With a primer, the stick has great wear, just a little glow of shine after a couple of hours.

-The color is a tad bit to light for me. Just a tad. I can tell that the color is a bit off on my skin tone, especially around my mouth where I'm darker.

-The price is really good for a drugstore foundation. At my CVS, it was only $8.99, catch a good sale and you could get it for cheaper.

-I have actually wore this alot, even though the color is wrong. lol! Its easy and fast to apply being a stick foundation. I can't tell you the last time I had a stick foundation. Yeaaarrrrsssssss....literally.

-I wouldn't buy this again, I'm thinking I might put it away for the fall/winter when I'm a little lighter. I tend to get an accidental tan and my dark areas get darker in the summer time.

Have you thought about buying Maybelline FIT Me Shine Free Foundation Stick?

~Natural Hair~ I Colored My 4C Hair With Clairol Texture & Tones In Flaming Desire.....

Monday, July 08, 2013


Hey Everyone.:)

I decided to re-color my hair last Tuesday. I used the same shade and brand I used over a year ago, Clairol Textures & Tones in Flaming Desire. Here's a LINK to that very popular post!


 I sectioned my hair so I was only coloring the top half, just like I did last year. I almost did a mohawk-ish color job, but decided not to. 
 Here's the color after. This is what I did:

-I FOLLOWED the instructions on in the box. Why? Because most of the time, they are right!
-I applied the color from tip to root, so that the color would take better on my hair. That's what the instructions suggest you do.
-Then I sat under a hooded dryer for 30 minutes to allow the color to really bloom. I read and watch so many posts from natural hair women who color their hair and not sit under the dryer. I learned that step from a hair stylist and it works.
 -Then I washed the color out with Pantene Naturals Clarifying Shampoo and Co Washed with Pantene Natural Co Wash, applied Ouidad Leave In and got ready to style my hair. I didn't deep condition because I DC'd the Sunday before.
- Because some of my hair in the front is heat damaged, I twisted then perm rodded the front while finger coiling the rest of my hair with  regular black/brown gel.

Some spots in my scalp did not get colored but that's ok. Once my hair dried, you can't even see those spots, because my scalp is so dense, even though the strand of my hair is thin.
 As you can see, the back in dark and the front is colored.
 I use the clips to keep my coils and curls from being all over the place when I sleep. I gave my hair a couple of hours to dry before I went to sleep, so I did the color and coiling wayyyyy ahead of going to bed.
 Here is the finished result the next day!!


Here's how I've been wearing it all week. I love this color and it came out just as great as the first time. One day, I'll be brave enough for the whole head!! Stay tuned on how to take care of colored treated natural hair!

Budget Friendly Lip Gloss: Favorites and Buys!

Thursday, July 04, 2013

Hey Everyone!!

Happy Fourth of July!

A week or so ago, I was chatting with a blogger friend about her love of MAC gloss. She was pretty peeved at them, the price of the glosses had went up and she was considering some cheaper options. I gave her a couple of ways to still get her beloved MAC in a less expensive way ( post soon!) and promised that I would do a post of my favorite cheap/budget friendly/drugstore glosses.

I'm not a big gloss wearer but when I do wear gloss, I look for high pigmentation because I have dark lips. I also look for less than $10 price range, texture( no sticky, goopy gloss) and the applicator in the gloss. Talk about being picky!!! But, when I wear gloss, I want to wear something I love! 

Here are some of my favorite glosses:


 Maybelline ColorSensational Lip Gloss

These have to be some the most pigmented, easy to wear glosses in the drug store/mass market store. They feel great on the lips and look good as well. The quality can be easily mistaken for expensive $14, $15 gloss. I just wish Maybelline  would do more colors like they do their lipsticks in these glosses.

 N.Y.C.  Big Bold Plumping Gloss

Do not worry, these glosses have no plumping effect at all. Matter of fact, they smooth the lips and fill in fine lines, so I think that might be the "plumping" action. The pigmentation is awesome in these glosses as well, giving me full color, almost like a lip lacquer or liquid lipstick.


NYX Round Lip Gloss

These lip glosses are some of NYX original products and they are just as good now as they were when they  first came out. Again, I love the high pigmentation and its easy on the gloop. Round Lip Glosses also have a wide variety of colors available.

What are your favorite glosses? Let me know in the comments!