~Fresh Coat~ Cover Girl Outlast Nail Polish in Peaches & Cream...

Monday, May 20, 2013


Hey Everyone!!

I never do "before & after" after photos with polish but when I use a polish that claims, "no chipping" or "long lasting results" or "color stay" or "outlast", B&As are inappropriate for the post.

Its taken me a minute to pick up one of these CoverGirl Outlast Nail Gloss polishes. They are really small and run $5-$6. Not a deal for me. However, blogger MissJia instagrammed her nail in Peaches & Cream and I was smitten. I went to the cheapest place I know for CoverGirl, Walmart, and picked it up.

This is two coats with a top coat and on the ring finger, Spoiled by Wet N' Wild in Jewelry Heist.

If you look closely to the ring finger, I have chip, that showed up about an hour after the manicure.

I knew this was not going to be good. LOL!


Three days later....my nails are looking dusty and rusty. I've used another drugstore brand "long lasting" polish and didn't have these chipping problems. I even double checked myself, "Were my coats thin or too thick?" "What base coat did I use?" But the reality is, the polish doesn't Outlast nothing. At least on MY NAILS.

I'm glad I only bought one Cover Girl Outlast Nail Gloss...and this will be my only one.

~Pinterest Beauty DIY~ How To Make Nail Polish.....

Thursday, May 16, 2013

Hey Everyone!!

I received a wonderful request to do a popular Pinterest DIY pin, 


If you are a Pinterest junkie or at least browse Pinterest...daily, you may have seen the DIY Nail Polish pin (above). 

So....Here we go!!
Step 1
I gathered paper towel ( to protect the counter), a spoon, a eye shadow, clear nail polish, and a Styrofoam plate( for a make shift funnel)
 Step 2
I scraped and crushed the eye shadow in to the plate. I tried to get the shadow is fine as possible, so it will dissolve in the polish effectively.
 Step 3
I took the top off the polish, folded the plate carefully with the shadow in it and SLOWLY poured the shadow in. Because the polish is of a thick texture it will only go in so far. I used the polish brush to push the shadow down and add more. I would also suggest a toothpick or Q-tip to push the polish down.
 Step 4

When I had put as much shadow in as a wanted, I then put the top back on and shook the bottle to mix the color around.
 Well!! Will you look at this beauty???? I own nothing like this shade.

I applied my base coat, then three coats of the DIY polish and top it all off with a top coat.

TIPS FOR A EFFECTIVE DIY POLISH!!

-The less shadow you add, the more the polish will be sheer. The more shadow you add, the most opaque the polish will be. I added as much as I could for maximum opaque-ness.

-Let the polish set for a couple of hours to a whole day after shaking it to mix it so that the bubbles in the polish will settle. Otherwise, your polish will have bubbles on top of your nails.

-If you are making this polish for a special occasion, do it at least 24 hours in advance.


Overall...

I had soooo much fun creating this color!! Its a great project if you are in a pinch for a color of polish that you a) can not find or b) can't afford. This also a great project for a girls' night in or a  slumber party.

Have any requests for me?  Beauty DIYs? If it's something within my ability, I will do it!! Comment below or email me at ruralglamour at yahoo dot com!!!

~Swatches + Review~ Maybelline Dream Sun Bronzing Face Illuminator....

Hey Everyone!!

Thanks to Crystalis007 on You Tube, I got hipped to Maybelline Dream Sun Bronzing Face Illuminator. She compared it her favorite NARS liquid highlighter, so you know I was VERY interested. I love a good, inexpensive alternative or the favorite beauty word of the day..."dupe".:)


I found Dream Sun on a display at a Rite Aid. I believe that it is a limited edition product. The display only had two of these product.
The product is more of a gel than a lotion. So when it goes on the skin, you have some time to adjust and blend, then its set in the skin.  Dream Sun, on my skin, is a warm, champagne gold. 

I applied Dream Sun with a mini stippling brush I ordered from Crown Brush a while back. I don't have much upper cheek bone space, so this brush is great for applying Dream Sun.

Overall....

Dream Sun is a AWESOME product. Its really easy to look over, because its Maybelline and drugstore and it's a liquid highlighter. Most oily skin girls steer away from the liquid highlighters! lol! However, this product is more of a gel, it stays put on the skin and its goes perfectly more blushes, other bronzers and contour powders. If I find another display of these, I'm grabbing a back up!!!

~Swatches + Review~ Lorac GloGetter Palette.....

Tuesday, May 14, 2013

Hey Everyone!!

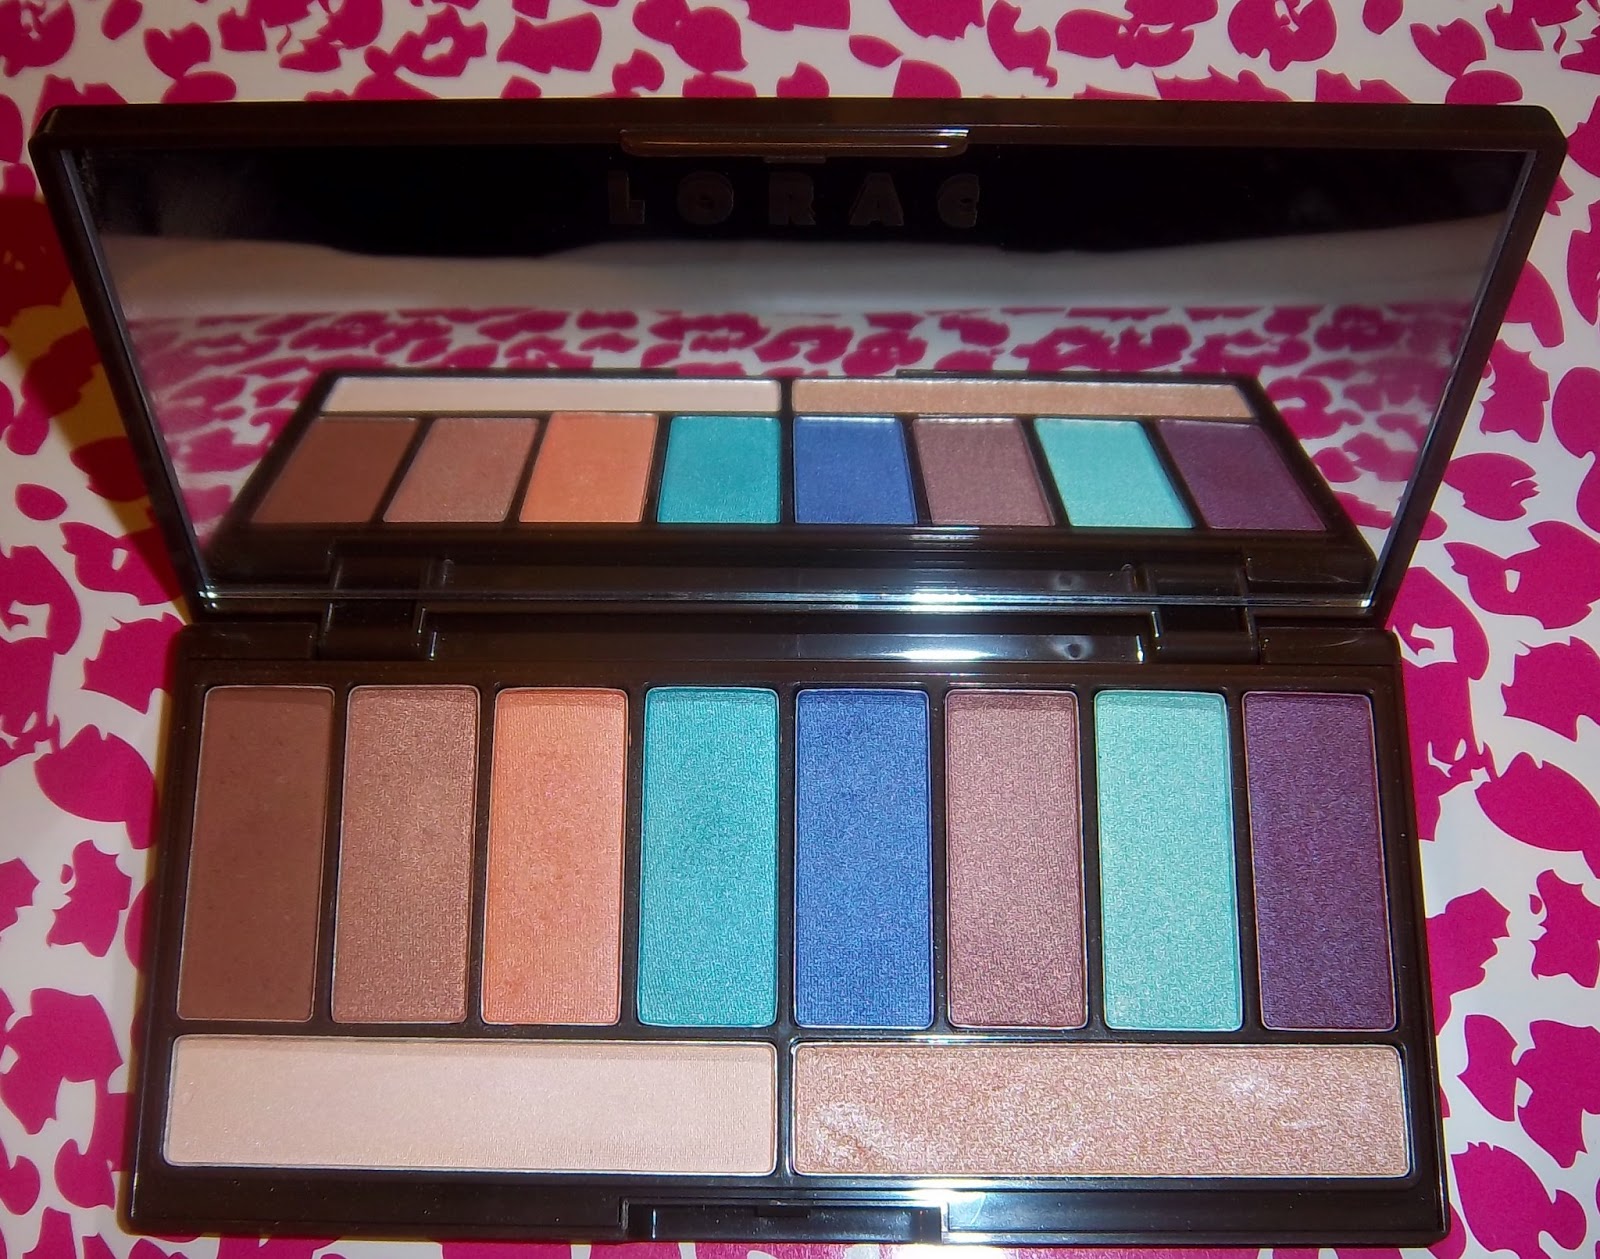
The Lorac GloGetter Palette ( exclusively at Ulta) was the first piece of Lorac I've ever owned. I have heard great things about the brand and this palette was so affordable at $20, it was hard to pass up!! I heard on the blogsphere how it was sold out in some Ultas but my Ulta had at least, 8 of these babies. *shrugs*


My Instagram photo of GloGetter....

 The palette is all eye shadows with some neutrals and brights in the mix. The shadows are all shimmers as well...
 Here are the swatches....
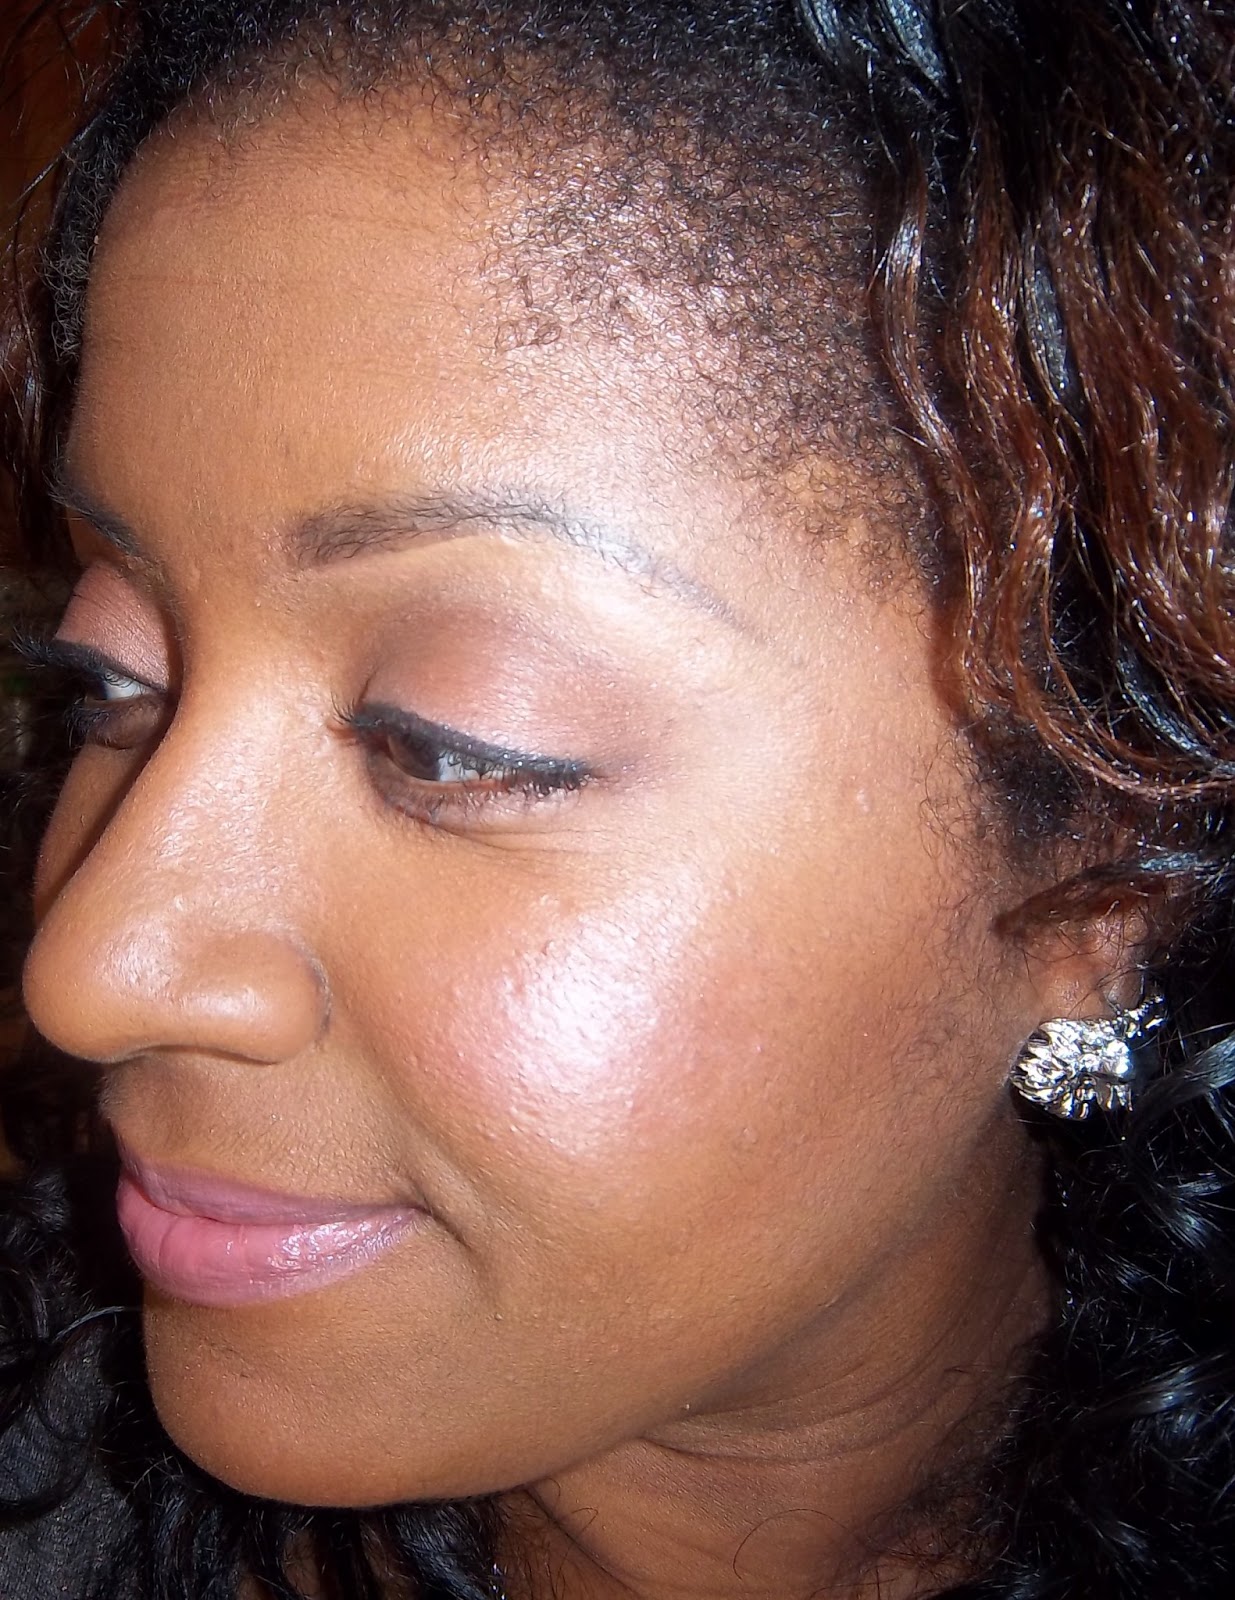
 Here is a look a did with the first three shades. I'm drawn towards neutrals, of course.
 The consistency is sheer with a tad bit of build-ability, depending on your brush skills.
Overall....

The Lorac GloGetter palette just didn't do it for me. Its beautiful in the palette but I was struggling with the color payoff. Are all Lorac palettes like this?

I did like the the blues and the purple in the palette but the color payoff on these shades were sheer as well. I don't see a use for the palette in my collection, so its going back.


~Swatches and First Impressions~ Kleancolor Femme Lipstick....Part 2....

Monday, May 13, 2013

Hey Everyone!!

I spotted these Kleancolor Femme Lipsticks at my beauty supply store and I was really surprised to see them there. Neither one of my BSS' update the Kleancolor makeup. lol! I had previously swatched and reviewed two sets of Kleancolor Femme Lipsticks. There were the bright primary/Secret Kisses/ Ka' Oir-ish colors. Here is the LINK to check those out!!


 There were six colors available. I got six colors then went back and got more colors for friends as gifts. :)
 The Names: #1 Tea Rose, #2 Pink, #3 Georgia, #4 Radiant Red, #5 Garnet and #6 Fiesta.....

The swatches start in order from the bottom....#1 Tea Rose is first and go up.......

First( or Second, since it's the 2nd set of lipsticks) Impressions:

-The smell is still fruity and INSANELY STRONG. OMG. Seriously, you know a lipstick scent is strong when you can smell it in your mouth and down your throat.  smh
-The formula is the same as the first Femme lipsticks I reviewed. The color is builable, very greasy like a balm but not a balm.
-These were a $1 at my BSS, so know crazy loss here. I'm going to try and wear these because I love the colors. 


Don't act like you haven't wore a trifling makeup product because you refuse to give up on it!!