Disclosure: I am not a licensed cosmetologist or makeup artist.
Hey Everyone!
I recently spoke with a friend who's new to makeup and gave her a bit of advice on where to start.
If you want me to keep it cute, I get this question often, I so decided to make a list of tips on where to start when you are new to makeup. These are my opinions and also some of my own experiences. I hope that this helps someone!
#1 Make Goals
Grab a pretty journal or put in the notes section of your phone all of the makeup techniques you want to learn and accomplish. Apply foundation? Applying lashes? Finding a nude lip gloss? All of these are goals! No matter how big or small. Then take the steps to accomplished them.
#2
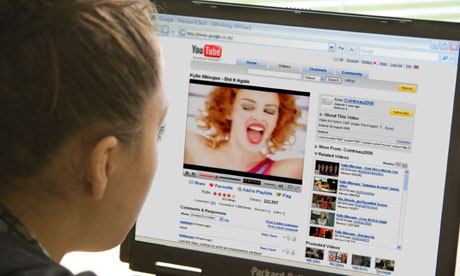
Watch You Tube beauty and makeup videos
People joke about "makeup gurus" but many of these ladies, whether professionals or not, know a great deal of technique. When I was ready to step up my makeup game, I went straight to YouTube and got HOOKED watching videos! I watch a variety of ladies and MEN, all colors and ages and learn from them all. It's really simple...just go to the search bar on You Tube and type in what you are looking for like, "How to apply eye shadow" and a list of endless videos will come up.
#3
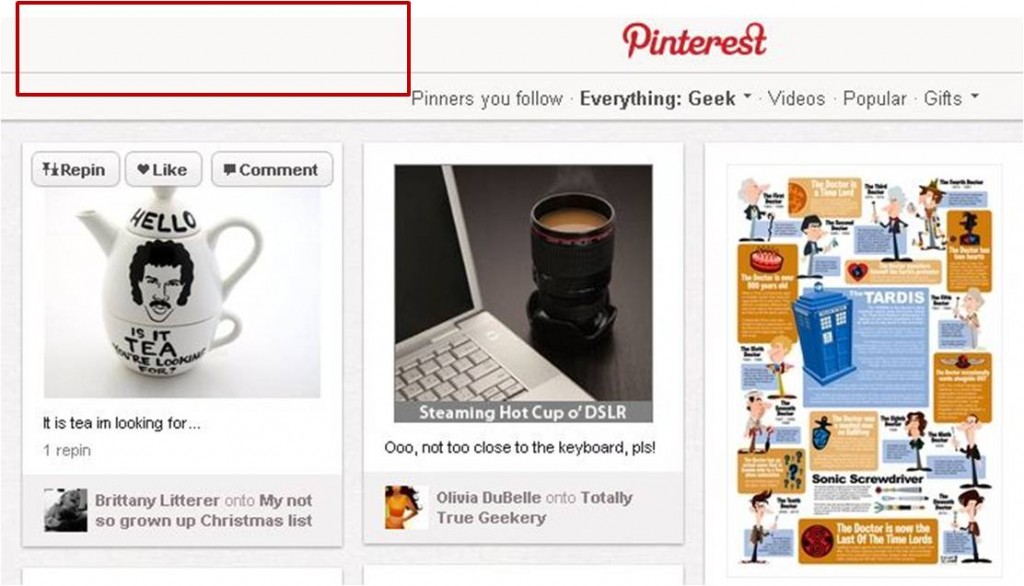
Search Pinterest
Pinterest is a jewel of visual learning. You can go to the Hair & Beauty search section and tons of pictures leading to posts on makeup application and even "pictorials", a visual break down of a makeup tutorial are available.
#4
Practice. Everyday
You want to learn how to do winged liner? Then you should purchase the liner and practice putting it on everyday, even if you mess up and have to wipe it off. Want to have one of those blended eye shadow looks? Try to do it everyday. Practice indeed makes perfect. I had an obsession with learning to apply lashes. This was my goal for two years. I watch over 50 videos, bought several pair of cheap lashes, cried many tears, and one night, I nailed both lashes perfectly in 5 minutes and never looked back! I didn't give up, I practiced! If you want to learn something, you must find time, whether it's everyday or on a Saturday afternoon to practice.
#5
Makeup boards and chat rooms.
One of the first chat rooms/board I ever went on, wayyy back in 2005, was Makeup Alley. It was a savior for my makeup obesession that was now misplaced deep in rural South Carolina. I learned so much on there and over the years, I've found other board on Facebook and online that have sparked the makeup love in my heart each day. Some of the ladies on these boards are super helpful and wonderful to newbies, I've witnessed it! Don't be afraid to seek these boards out and join the conversation!
#4
Have fun!!
Makeup, learning and exploring it, is really alot of fun! It is an art, like crafting or shopping and it may require a bit of learning and practice but have fun doing it! I see and know so many ladies who are stressed because the lipstick they picked was wrong or their eye look melted. Wash it off and start over again and know that practice makes perfect and have alot of fun doing it!


